How to print ABS/ASA with a Prusa Core One
I own a Prusa Core One. Lately I had to print several things for my car (Camper Van) in ASA. If you wonder about the reason, it is ASA is heat resistant and temperatures can go quite high in a car.
ASA is really hard to print successfully. The reason is that it retracts when it cools. If you have an enclosed printer, you normally heat the chamber with the print bed. So the heating is coming from below. The more area of the heat bed you cover with your printer, the cooler is will get.
As soon as you print especially flat surfaces, the middle of the surface cools down faster than the edges. If you print a box, the wall will also shield the heat from the print bed and you get even more cooling inside. More cooling means more retraction. Sooner or later your print will start to bend and lift off either the print sheet or print bed. The only way to avoid that would be to have 50°C warm air pushing down on your print from above. I haven’t seen a solution for that yet.
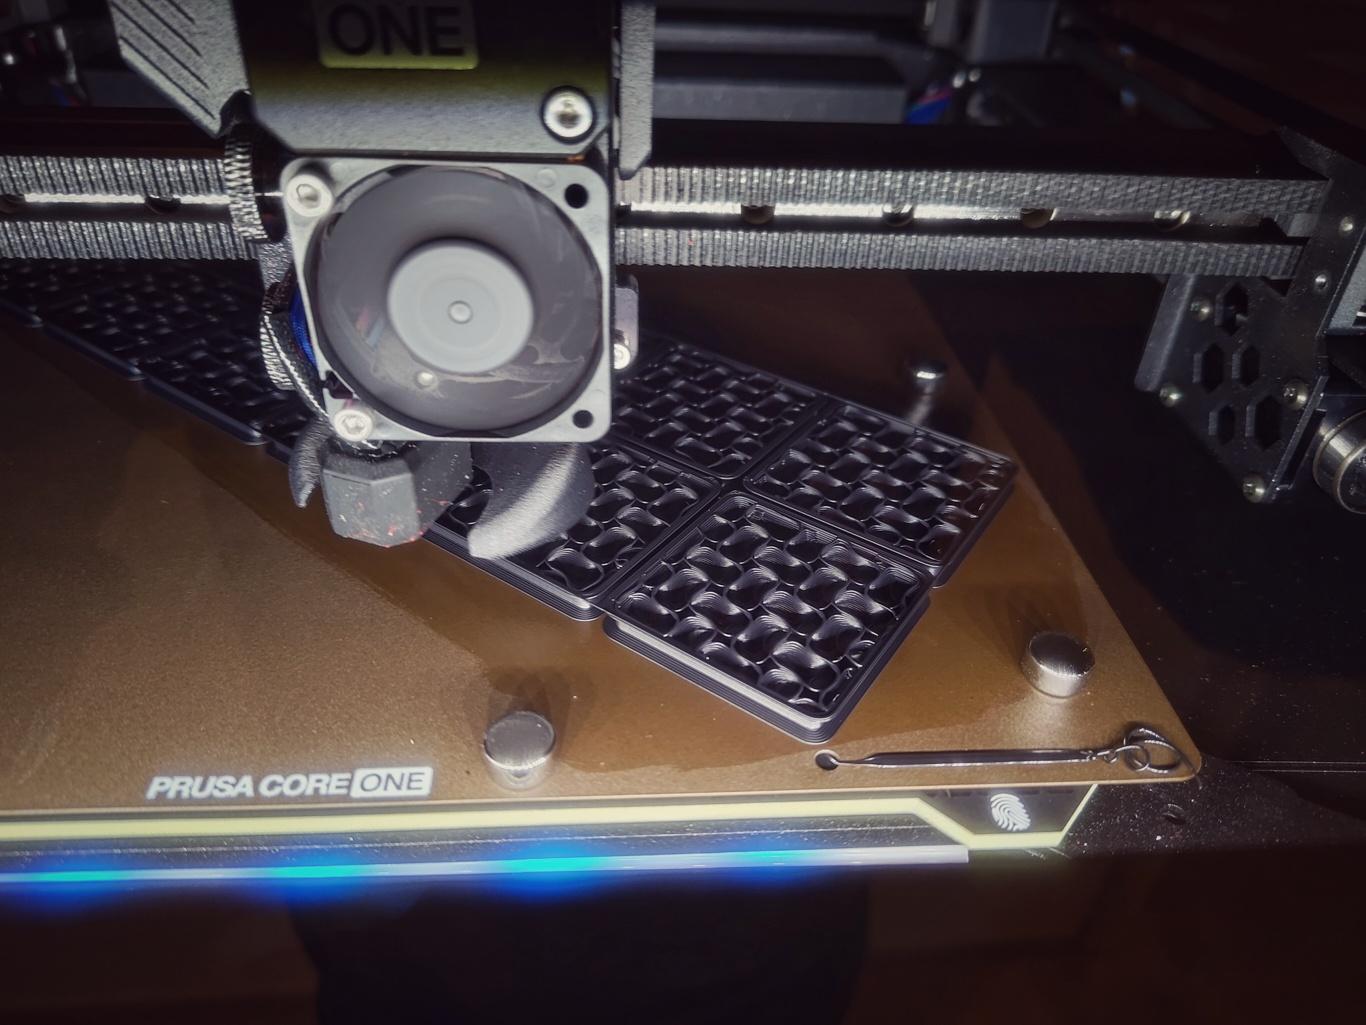
If you have a five hour print job, you want that your print to lift of as late as possible. Small jobs you can print successfully, but big jobs like 5×4 H10 Gridfinity boxes or something like that are nearly impossible to print 100% successfully.
However here are all my tricks how to master ABS/ASA:
Pre-requirements
- Satin Powder-coated Print Sheet
- Magigoo Glue for PC (Its the only one which works with temperature over 100°C)
- 10 mm dia X 5mm N52 Neodym Magnets
- Masking tape (Krepp)
Slicer Settings
- Infill: Gyroid 10% (This works the best and prints fast)
- Outer Brim: Witdh 3mm
For larger and longer prints which cover quite some area on the print sheet, after slicing add a “Pause” after 5mm of printing. That would be for layer height:
- 0.25mm = Pause at layer 21
- 0.20mm = Pause at layer 26
- 0.15mm = Pause at layer 35
Preparing the print
- Clean the print sheet, put Magigoo on the it and place it in the printer
- Auto home the printer
- Move the print bed to 40mm
- Select Custom Preheat and preheat to 120°C
- You can use a hair dryer to heat the chamber below the print bed. BE CAREFUL! Do not point it to the door or it will melt. Make sure it sucks air from outside.
- Close the door
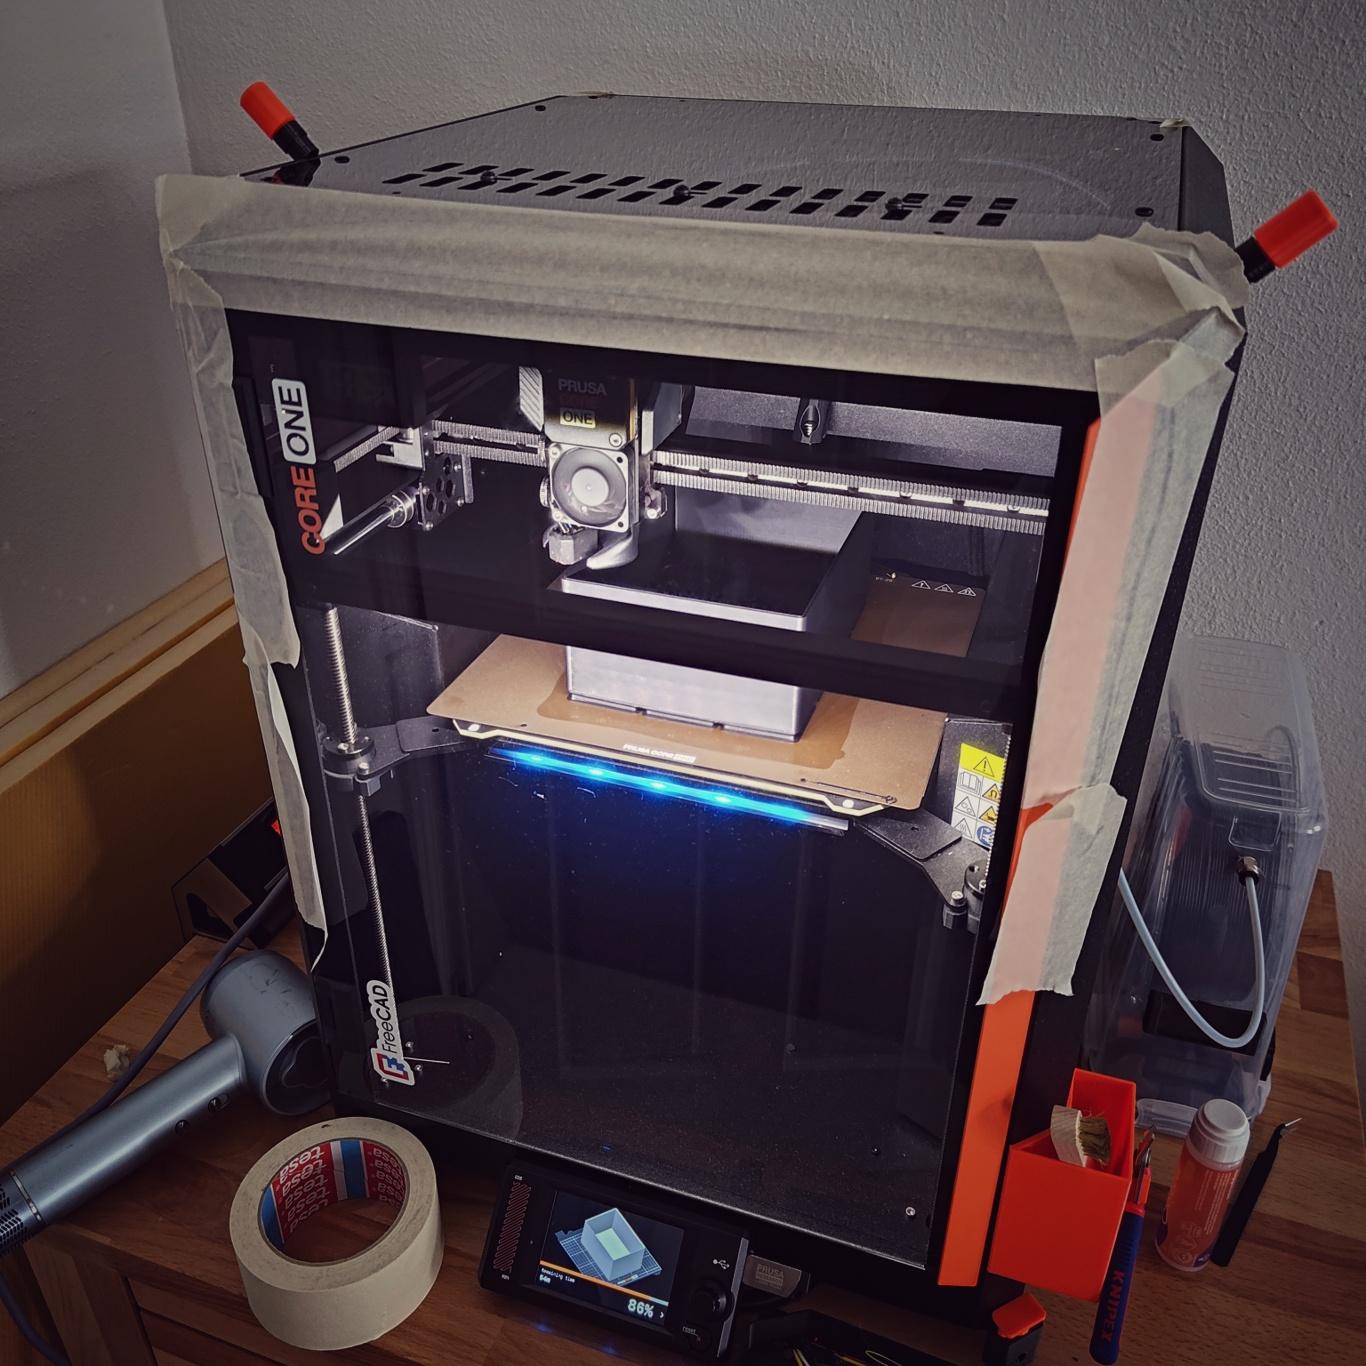
- Cover the gaps of the upper half of the printer with tape. The filtration system needs to suck air into the chamber. We want that it does it from below the print bed. See picture below.
- Set the Filtration fan to 35%! This is important or it will remove too much heat form the chamber.
The Print
Start the print, it will take some time to absorb heat but it warms up to ~50°C. I have a thermometer at the top of the chamber inside. It normally has ~45°C when it starts to print.
In the Slicer you see how long it takes till you reach the Pause you set. Once the printer starts, set a timer that reminds you when it will Pause.
Adding Magnets
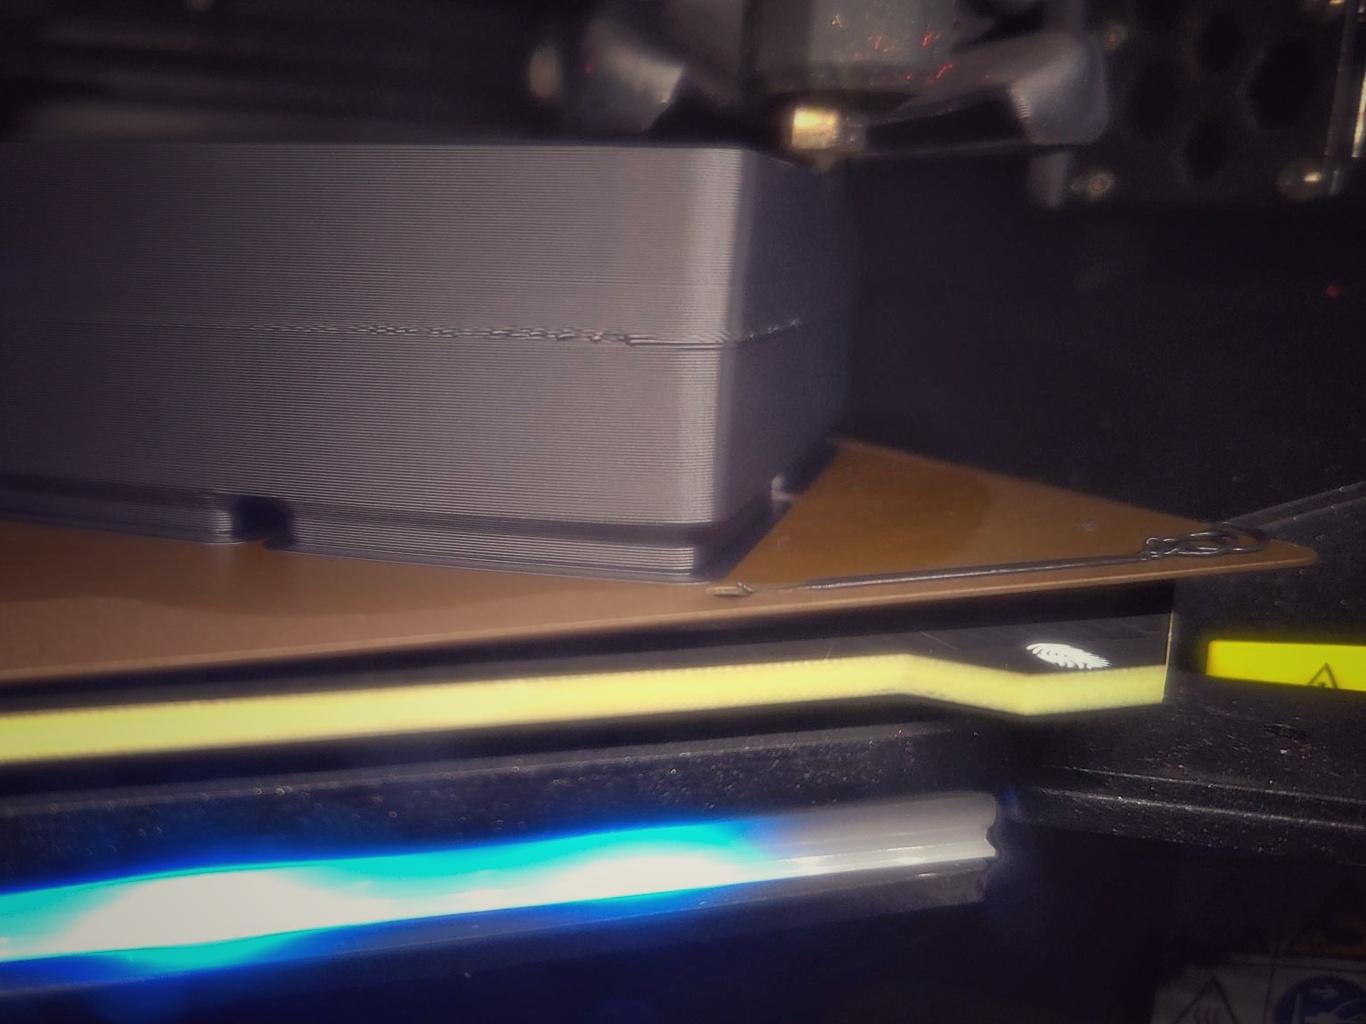
The Magigoo glue is very strong. If the retraction forces are getting too high, the print sheet will lift of the print bed. We can try to prevent that or at least postpone the lift off by adding magnets around our model once the printer pauses.
Event with the added magnets from above. After 4 hours of printing the retraction forces got so high, that it lifted of the print sheet from the print bend on both sides.
Let me know in the comments if you have a trick I don’t know yet!
color of the printsheet isn’t gray? is it the PP one? https://help.prusa3d.com/article/flexible-steel-sheets-guidepost_2195
It is the Satin Sheet for the Core One.